LDAP Authentication with Django -Part 1

I am a Professional Software Developer. On the backend side I work with Java on the frontend side I use React or Angular. Recently I made my baby steps in the fields of Machine Learning (mainly fast.ai) and Blockchain (Ethereum, Chainlink, Internet Computer(Dfinity)). This is where my professional interest lies.
The sole purpose of this blog post is to consolidate my hard-earned knowledge about LDAP- and Django configuration.
I have been struggling recently because I have to to configure LDAP with Django. Let this post solidify what I have learned so far during this process.
My goal is to log in to django with and without having a 'django' password. If I have a django password, the login is a no brainer. But if I don't have 'django' password I obviously need an LDAP password to login. How to do that? That's today's topic.
Installing LDAP server and phpLDAPadmin
First thing first:
sudo apt-get update
and then:
sudo apt-get install slapd ldap-utils
During the installation, I believe it'll ask for a root password:
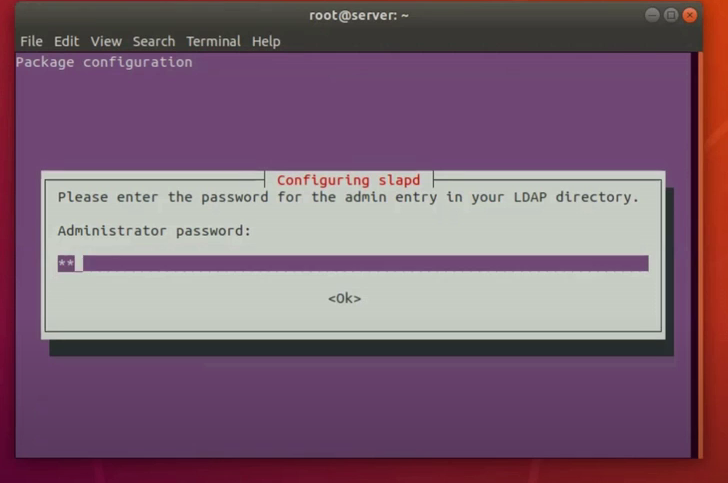
Provide one, confirm it. Once the procedure is done we edit /etc/ldap/ldap.conf. Remove everything what's there, and replace it with the snippet below. The only thing that should change is the URI.
#
# LDAP Defaults
#

# See ldap.conf(5) for details
# This file should be world readable but not world writable.

BASE    dc=example,dc=com
URI    ldap://localhost:389

#SIZELIMIT    12
#TIMELIMIT    15
#DEREF        never

# TLS certificates (needed for GnuTLS)
TLS_CACERT    /etc/ssl/certs/ca-certificates.crt
Now it's time to reconfigure:
sudo dpkg-reconfigure slapd
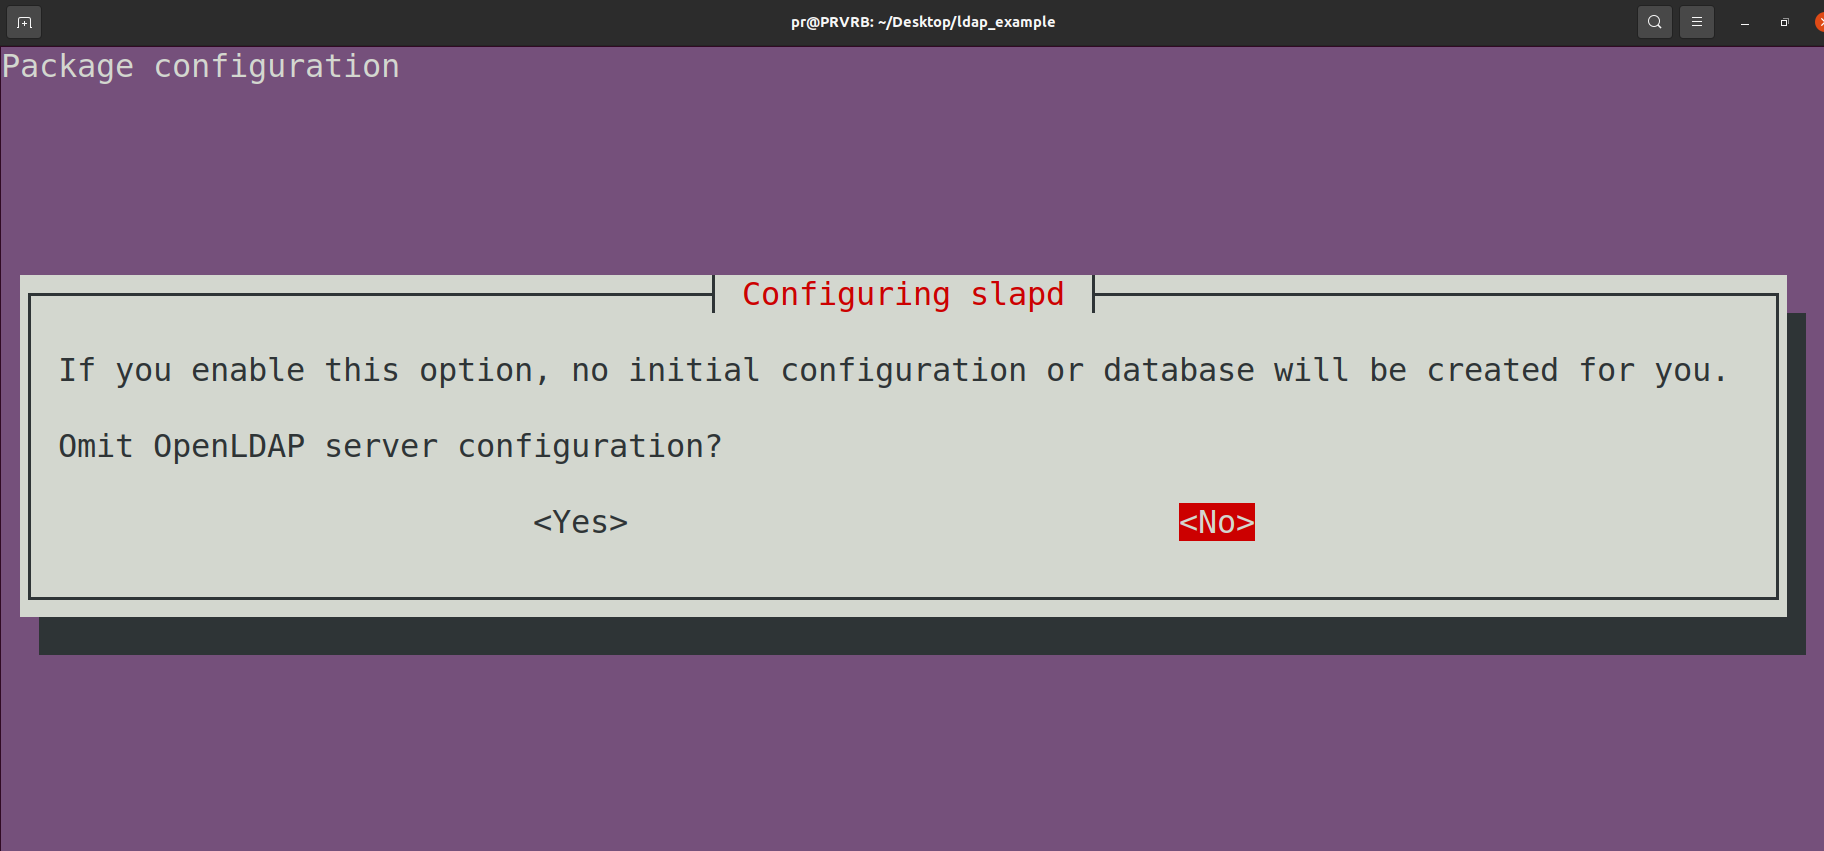
"Omit OpenLDAP Server Configuration?" The answer should be a clear "No":
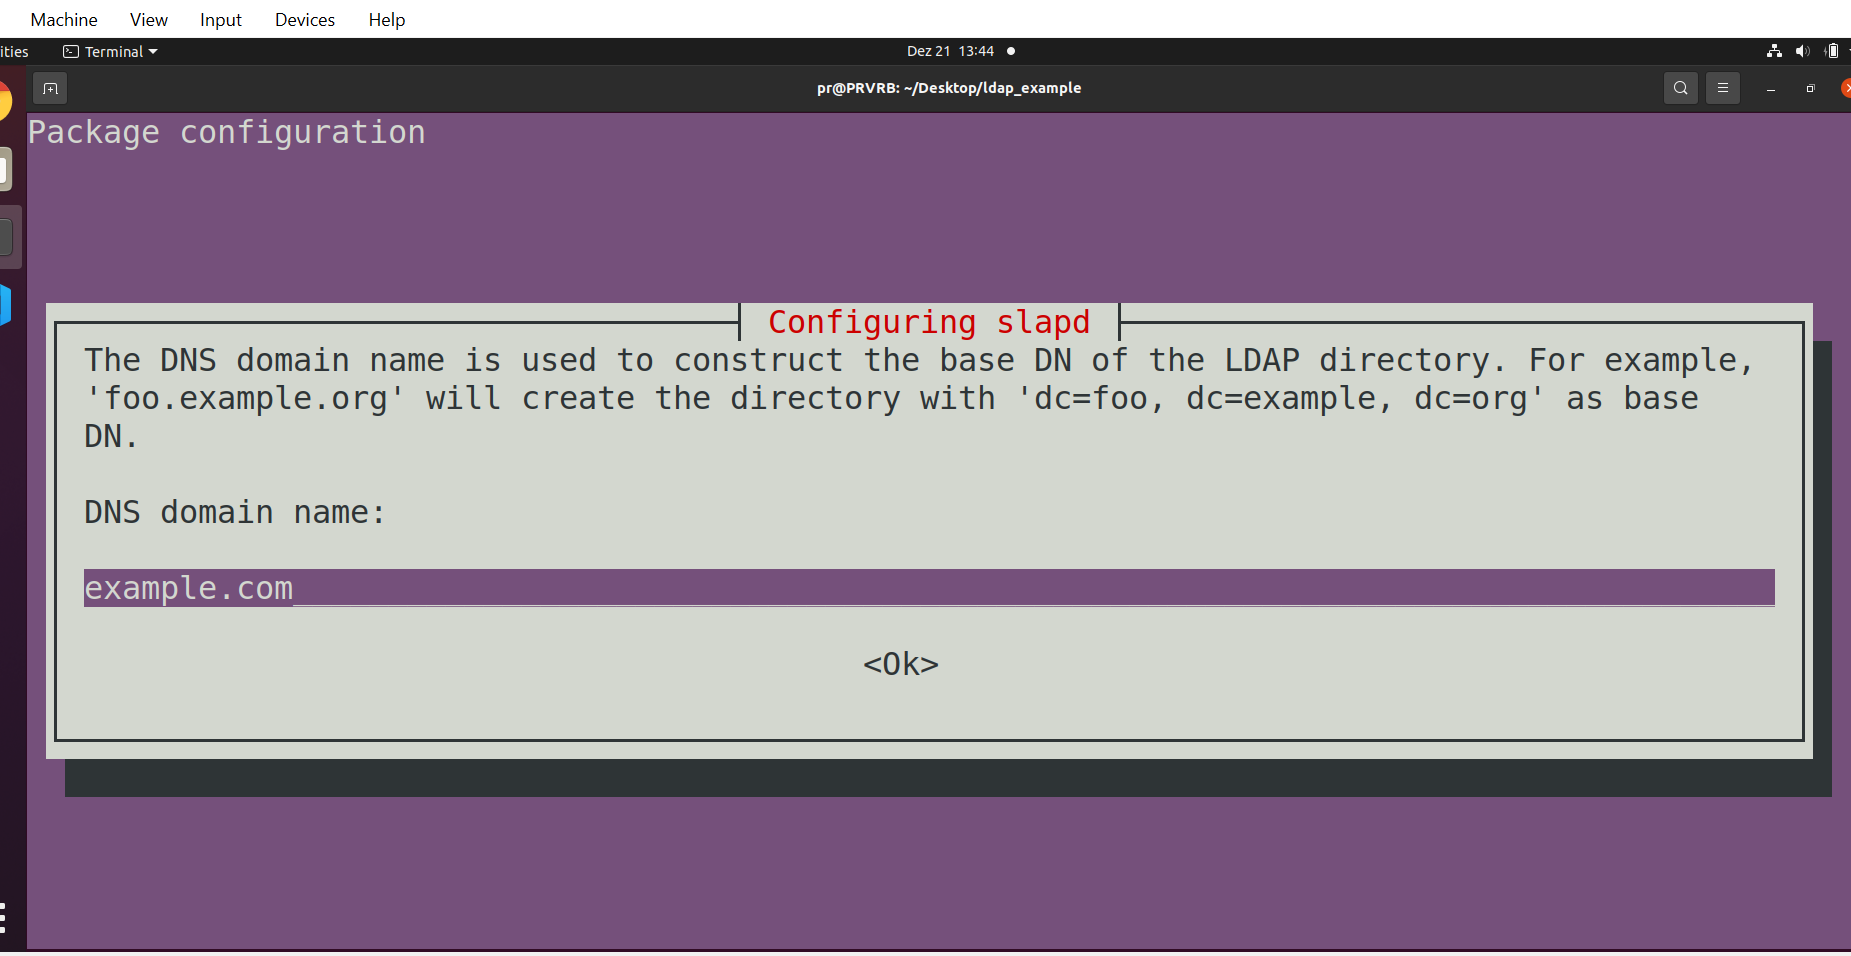
Make it 'example' if it is not already there:
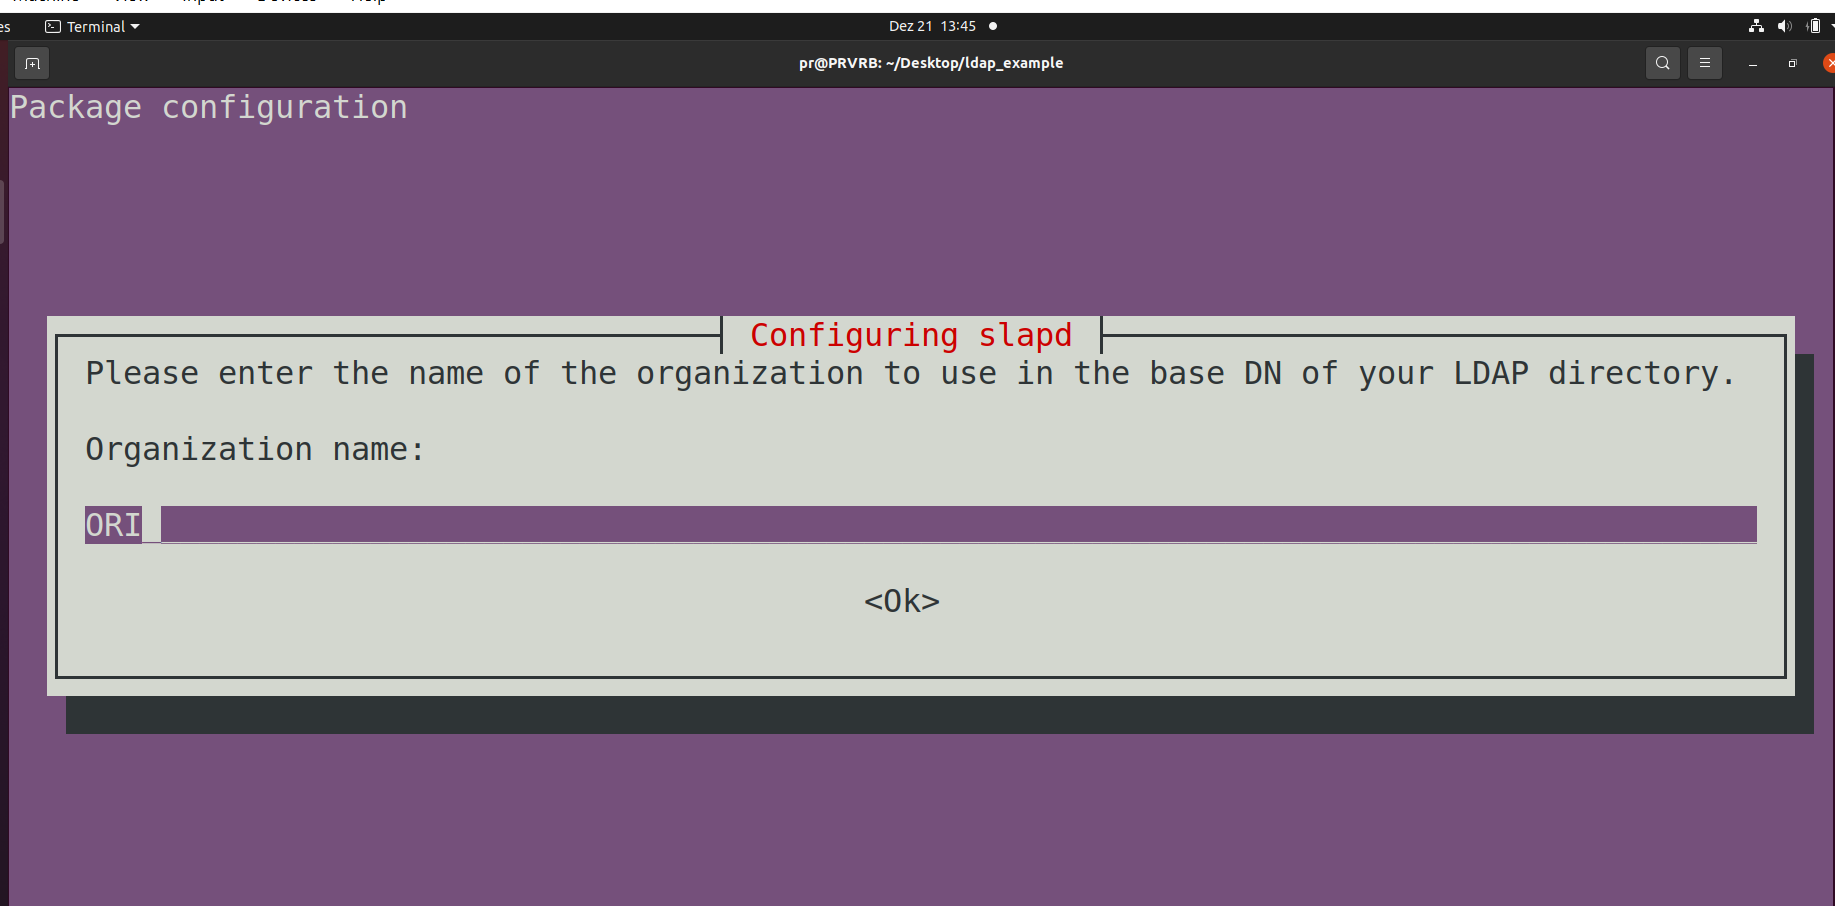
Pick an Organization name:
Then it will ask for the root password we created during installion. Type it, confirm it and here comes the next question:
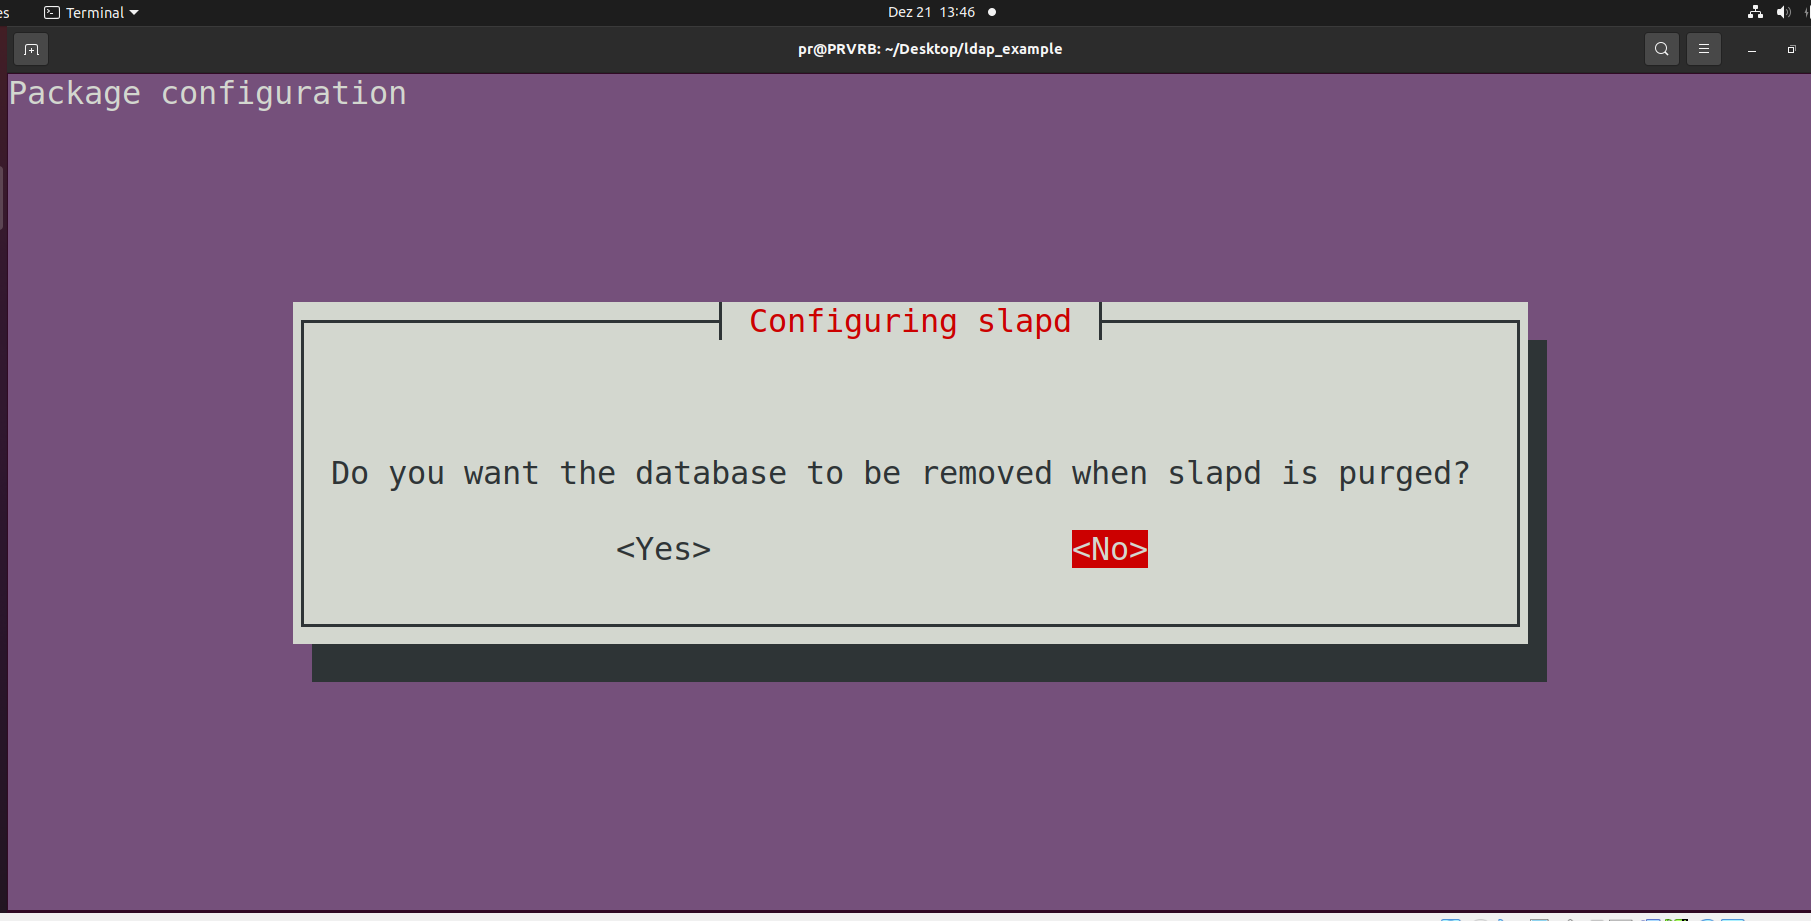
"Do you want the database to be removed"? Again, no:
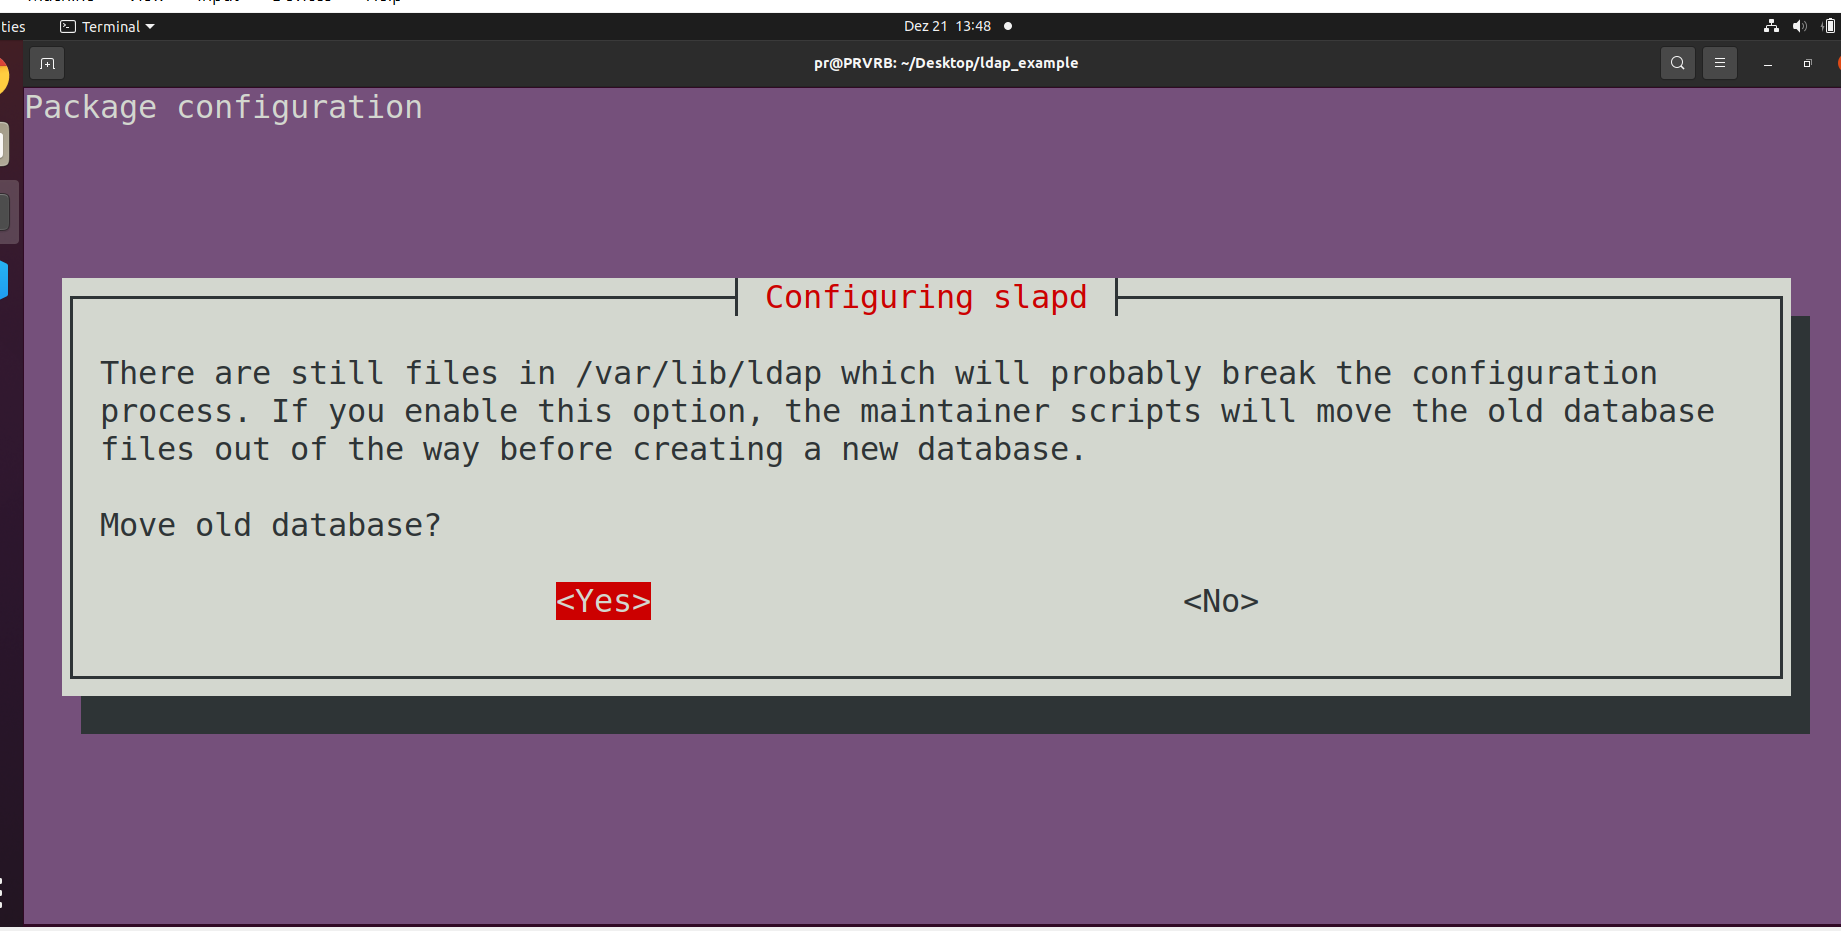
Move old database? YES:
The proof that everything went well is in ldapsearch -x
$ ldapsearch -x
# extended LDIF
#
# LDAPv3
# base <dc=example,dc=com> (default) with scope subtree
# filter: (objectclass=*)
# requesting: ALL
#

# example.com
dn: dc=example,dc=com
objectClass: top
objectClass: dcObject
objectClass: organization
o: ORI
dc: example

# admin, example.com
dn: cn=admin,dc=example,dc=com
objectClass: simpleSecurityObject
objectClass: organizationalRole
cn: admin
description: LDAP administrator

# search result
search: 2
result: 0 Success

# numResponses: 3
# numEntries: 2
Now, it's time to install phpLDAPadmin
sudo apt-get install phpldapadmin
and then let's change the configuration:
sudo gedit /etc/phpldapadmin/config.php
Find the line that sets the host, and assign the url to it. In my case I pick localhost:
$servers->setValue('server','host','127.0.0.1');
Find the line with 'base' and adjust the value to 'example'
$servers->setValue('server','base',array('dc=example,dc=com'));
The same goes for 'bind_id':
$servers->setValue('login','bind_id','cn=admin,dc=example,dc=com');
Finally, uncomment and set 'true' the line below:
$config->custom->appearance['hide_template_warning'] = true;
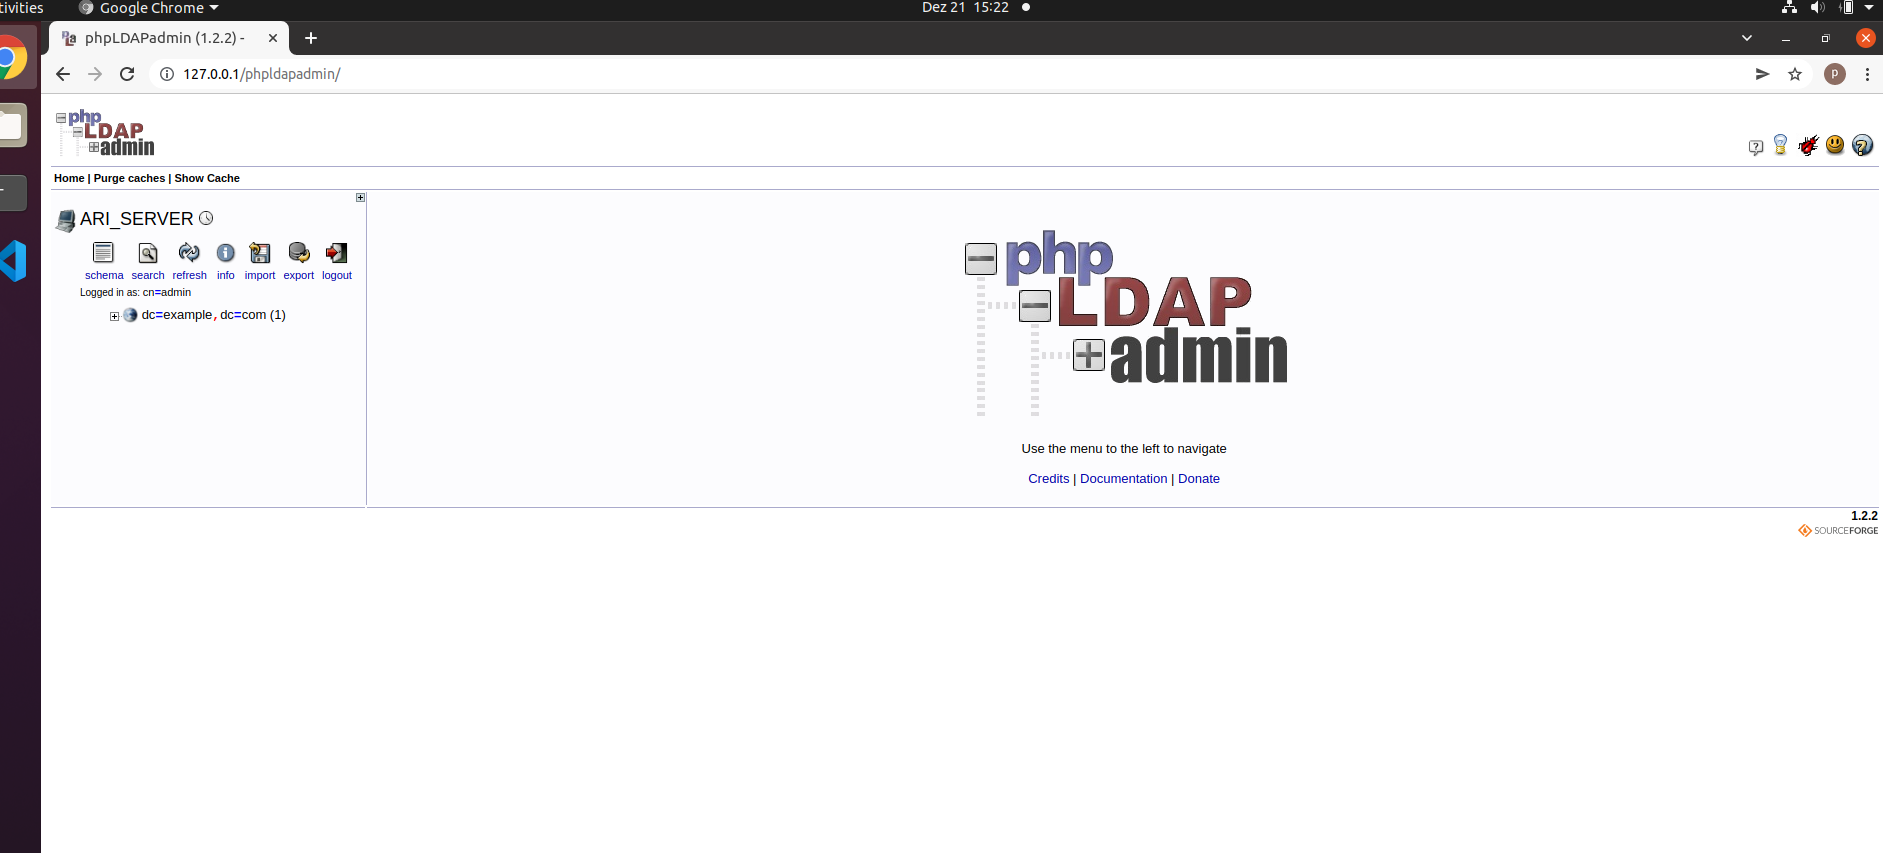
If everything properly configured, just visit http://127.0.0.1/phpldapadmin/ to see something like this:
Installing Django
First thing, let's create and activate a virtual environment:
python3 -m venv .env

source  .env/bin/activate
Then install django:
pip install django
and also django-auth-ldap:
pip install django-auth-ldap
Chances are, that this installation fails on ubuntu, due to a missing wheel. To remedy this problem, just run the following:
sudo apt-get install build-essential python3-dev python2.7-dev libldap2-dev libsasl2-dev slapd ldap-utils tox lcov valgrind
I don't understand this magic formula, I just took it from the docs, and it seems to be working, that's enough for me:-)
If the installation is successful, time to create a project:
django-admin startproject ldap_example
Now extend settings.py with the following. , 'Attention, 'YourLDAPPassword' is to be replaced with the ldap password you configured earlier.
import ldap
from django_auth_ldap.config import LDAPSearch, LDAPGroupQuery,GroupOfNamesType,PosixGroupType

AUTH_LDAP_SERVER_URI = 'ldap://localhost'
AUTH_LDAP_BIND_DN = 'cn=admin,dc=example,dc=com'
AUTH_LDAP_BIND_PASSWORD = 'YourLDAPPassword'
AUTH_LDAP_USER_SEARCH = LDAPSearch('dc=example,dc=com',ldap.SCOPE_SUBTREE, '(uid=%(user)s)')
AUTH_LDAP_GROUP_SEARCH = LDAPSearch('dc=example,dc=com',ldap.SCOPE_SUBTREE, '(objectClass=top)')
AUTH_LDAP_GROUP_TYPE = PosixGroupType(name_attr="cn")
AUTH_LDAP_MIRROR_GROUPS = True

    # Populate the Django user from the LDAP directory.
AUTH_LDAP_REQUIRE_GROUP = "cn=enabled,ou=groups,dc=example,dc=com"

AUTH_LDAP_USER_ATTR_MAP = {
        "first_name": "givenName",
        "last_name": "sn",
        "email": "mail",
        "username": "uid",
        "password": "userPassword",
}
AUTH_LDAP_PROFILE_ATTR_MAP = {
        "home_directory": "homeDirectory"
}
AUTH_LDAP_USER_FLAGS_BY_GROUP = {
        "is_active": "cn=active,ou=groups,dc=example,dc=com",
        "is_staff": "cn=staff,ou=groups,dc=example,dc=com",
        "is_superuser": "cn=superuser,ou=groups,dc=example,dc=com"
}

AUTH_LDAP_ALWAYS_UPDATE_USER = True
AUTH_LDAP_FIND_GROUP_PERMS = True
AUTH_LDAP_CACHE_TIMEOUT = 3600

AUTH_LDAP_FIND_GROUP_PERMS = True

    # Keep ModelBackend around for per-user permissions and maybe a local
    # superuser.
AUTHENTICATION_BACKENDS = (
        'django_auth_ldap.backend.LDAPBackend',
        'django.contrib.auth.backends.ModelBackend',
)
Now if you migrate the database:
python3 manage.py migrate
and start django-server:
python3 manage.py runserver
then django should be running on http://localhost:8000/admin/
But we have no users to log in. Let's create one.
Creating LDAP user
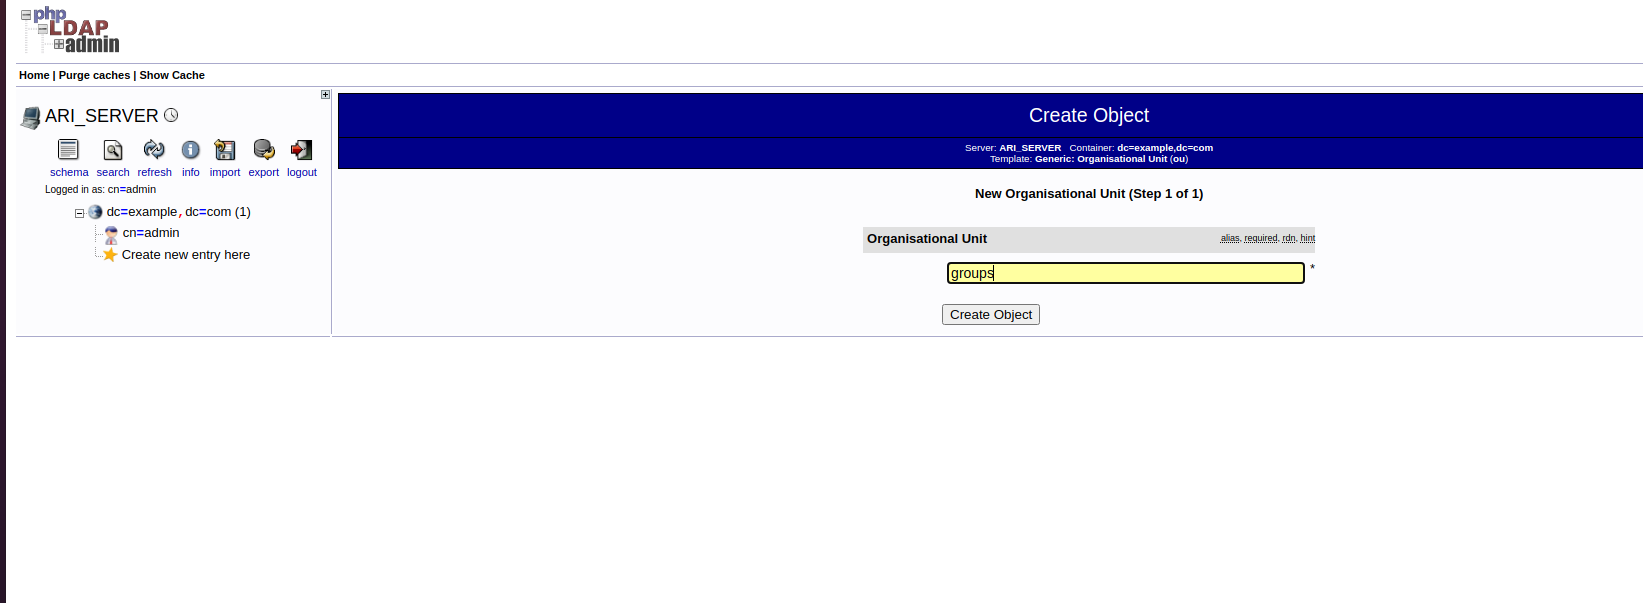
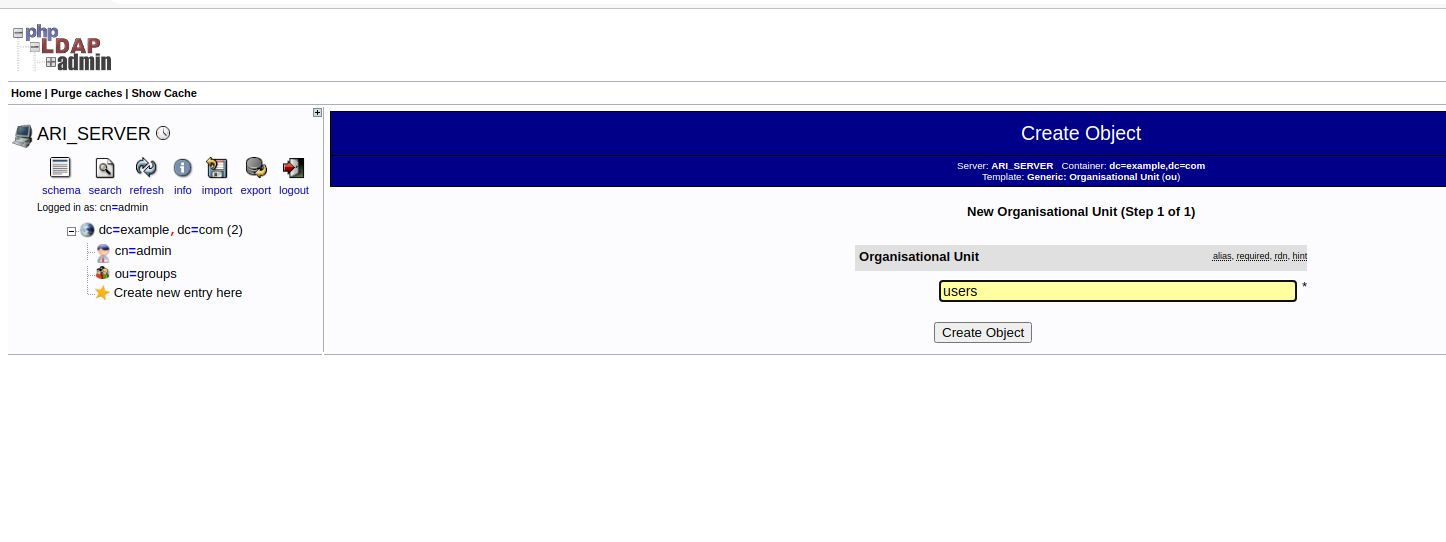
Let's start with creating Organizational Units. Log in to http://127.0.0.1/phpldapadmin/ and click 'Create new entry' and pick 'Generic:Organizational Unit'. Name it 'groups'.
and another one called 'users'. Make sure, 'groups' and 'users' are on the same level.
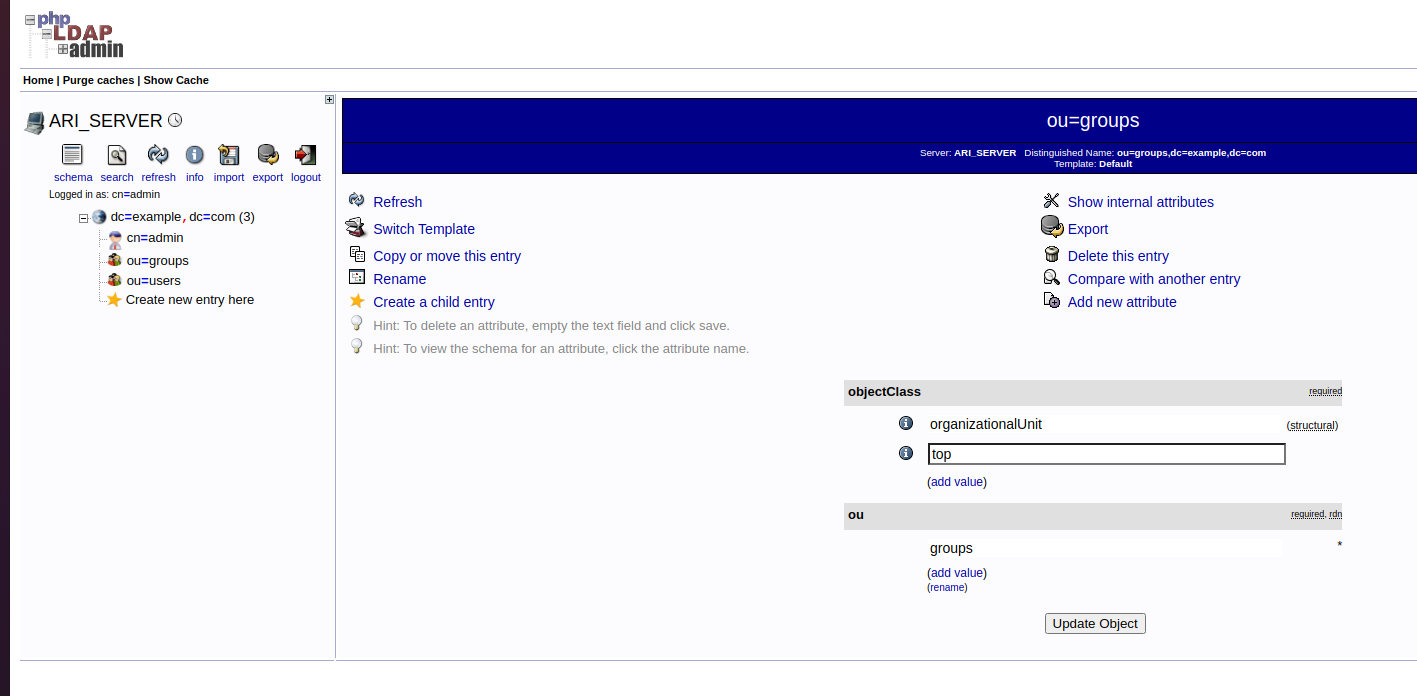
Under 'groups' create another one, call it 'active':
Under 'users' create 'Generic: User Account'.
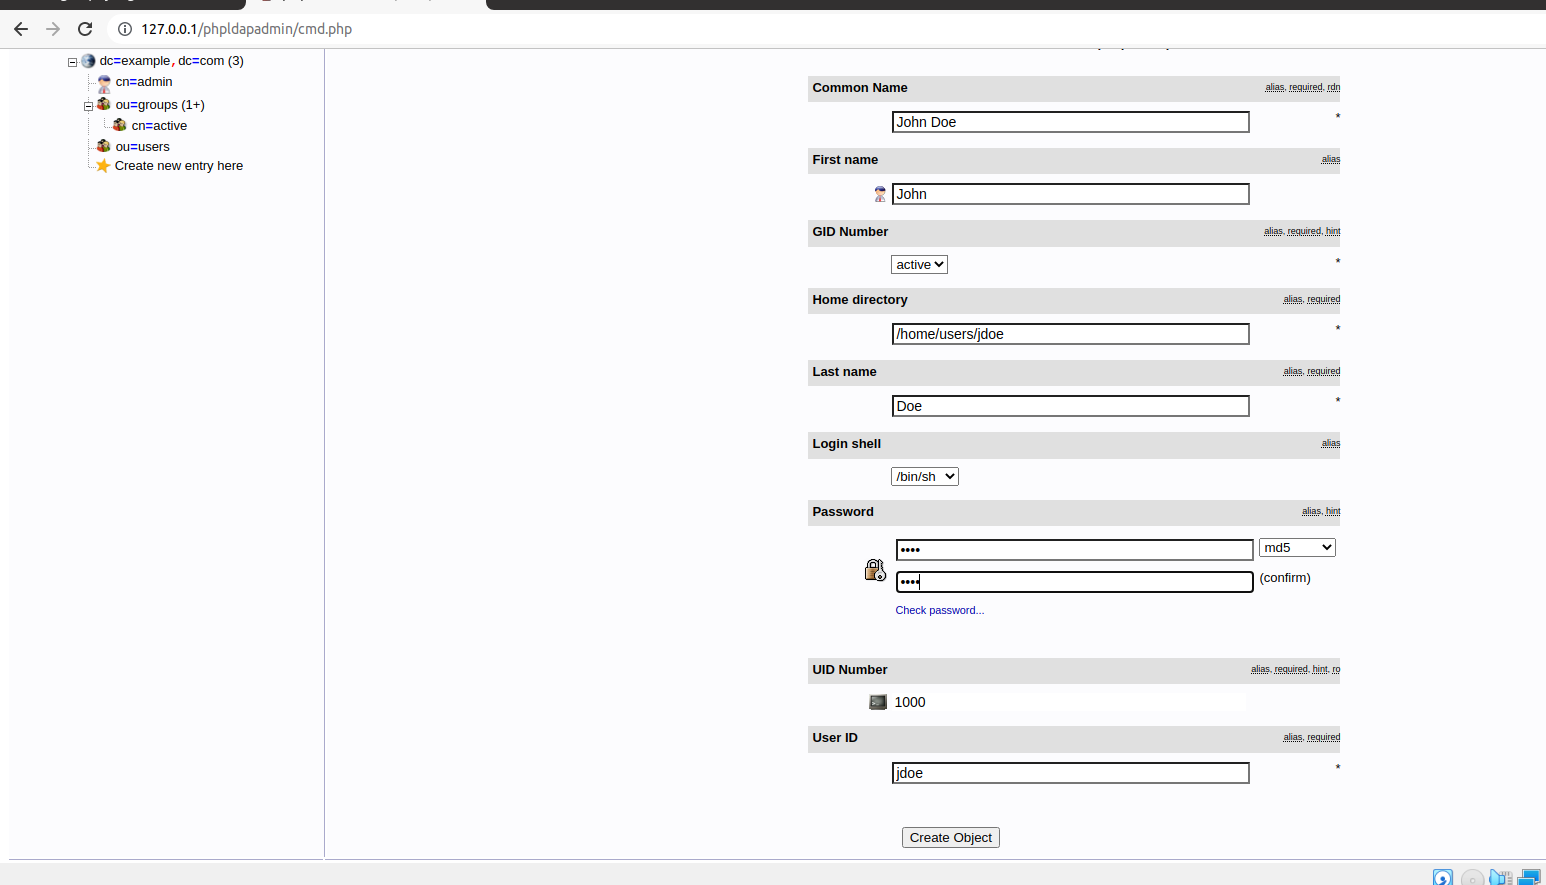
Make sure you select 'active' under GID Number.
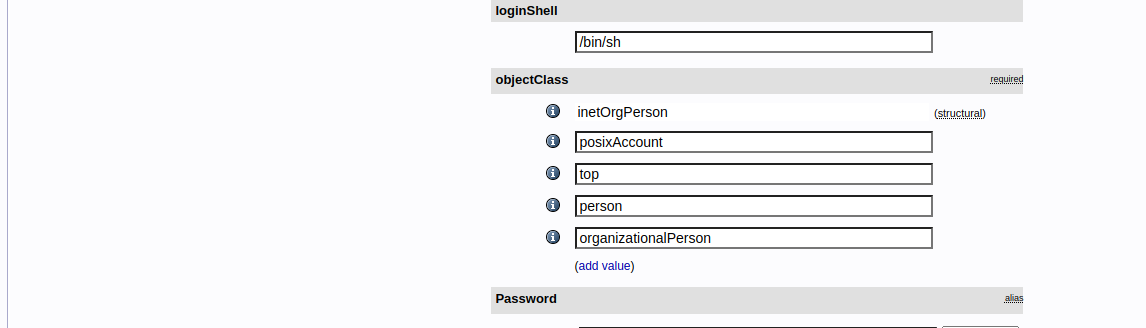
Click again on the created user, and add two Objectclasses , 'person' and 'organizationalPerson'
On the same level as 'active' add three more ''Generic:Posix Groups' and call them 'enabled', 'staff' and 'superuser'.
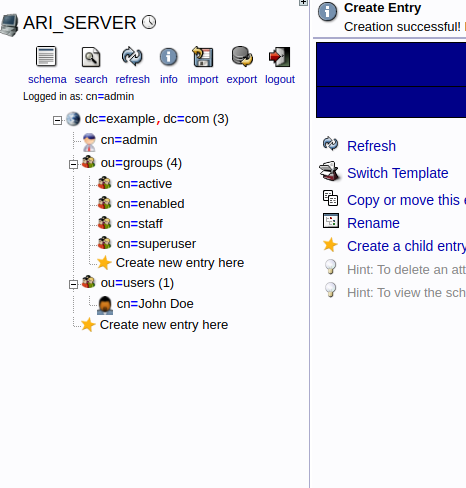
Don't forget to add the recently created user to each and every of them.
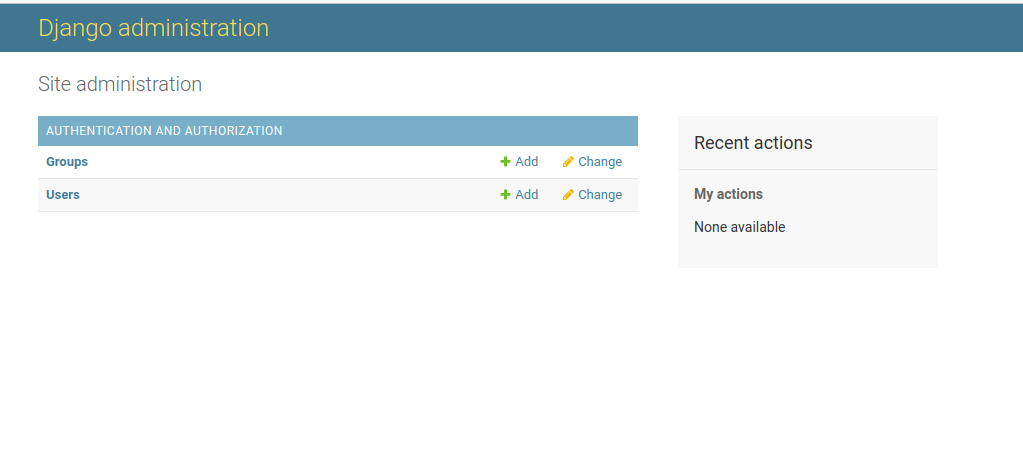
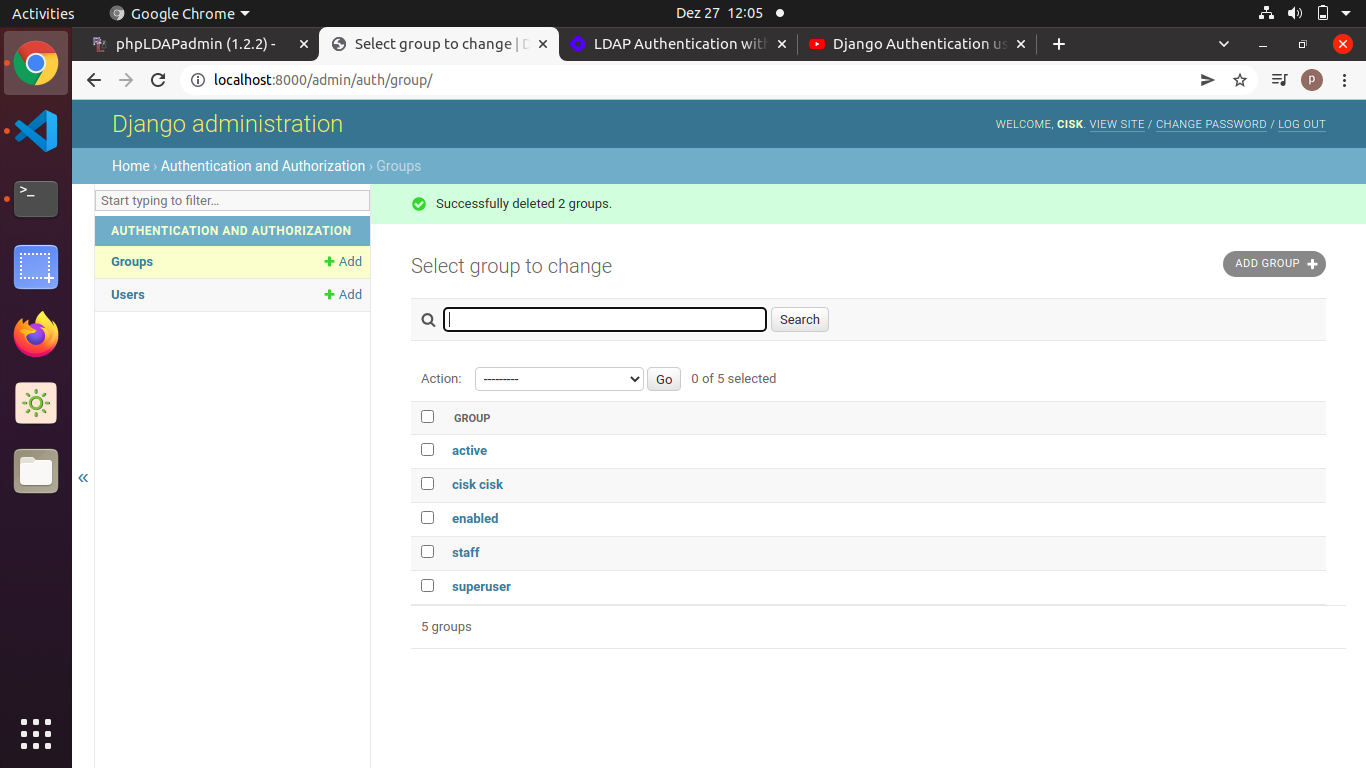
If Django is still running, you should be able to log in with UserID and password:
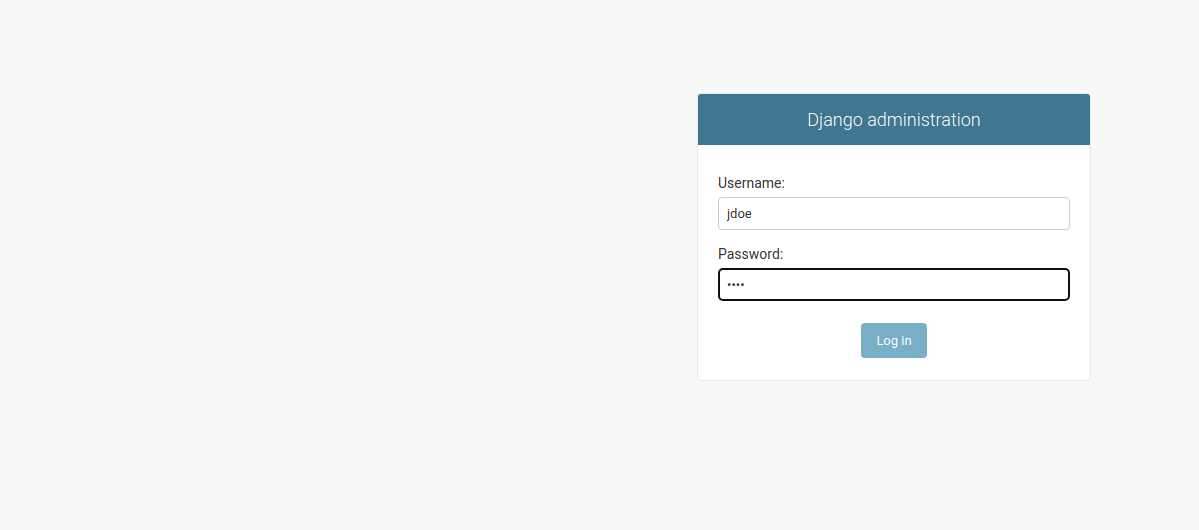
Success! Congratulations!
Based on the fabulous work of: https://www.youtube.com/watch?v=k0b1-foc28Y&t=922s and https://www.youtube.com/watch?v=jXOeOusdG60&t=502s


